
Selling aircraft parts and repair capabilities with ePlane is a quick & simple process that only takes a few clicks.
We have gathered 4 powerful tips that would help you drive more sales, promote your items, and help you communicate with potential customers.
Tip #1 – Sync Your Inventory
Regardless of how you manage your inventory (SAP, Amos, Quantum, Pentagon, Corridor, Wings or a custom inventory manager), ePlane allows you to upload EVERYTHING to 1 platform:
- Seamlessly manage listings online
- Simple and quick integration
ePlane sync is suitable for Spec 2000 and other EDI systems.
It is the perfect way to:
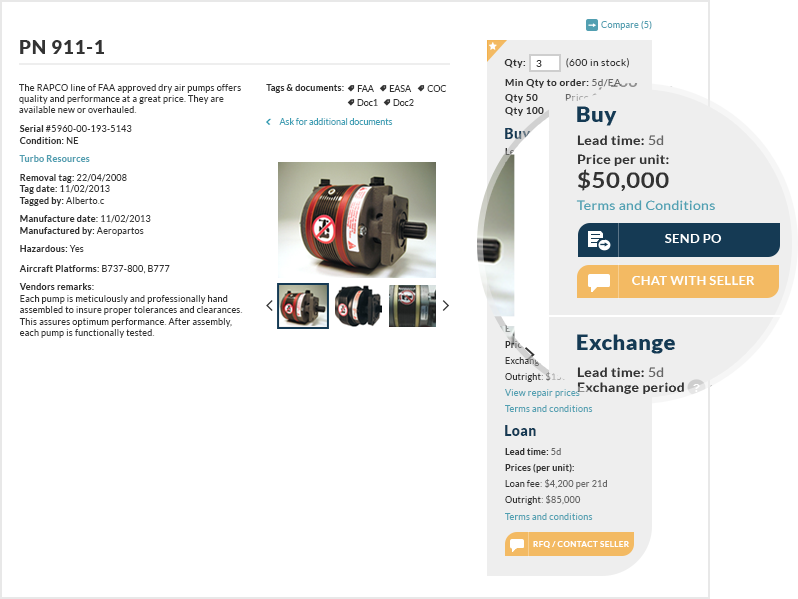
- Enable customers to get real-time pricing for in-stock items
- Automatically set price per customer
Sync your inventory now! Simply contact our Account Specialists, schedule a call, and they will walk you through the process.
![]()
Tip #2 – Promote Your Inventory with Badges
You can promote your inventory with a designed button that can be implemented anywhere on your website or blog:
- Visit our Badge Page and select the one that best suits your website.

- Copy the HTML.
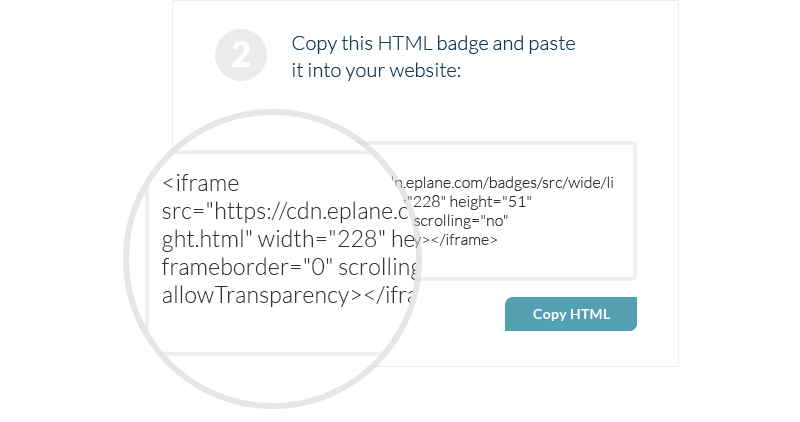
- Paste it into your website.
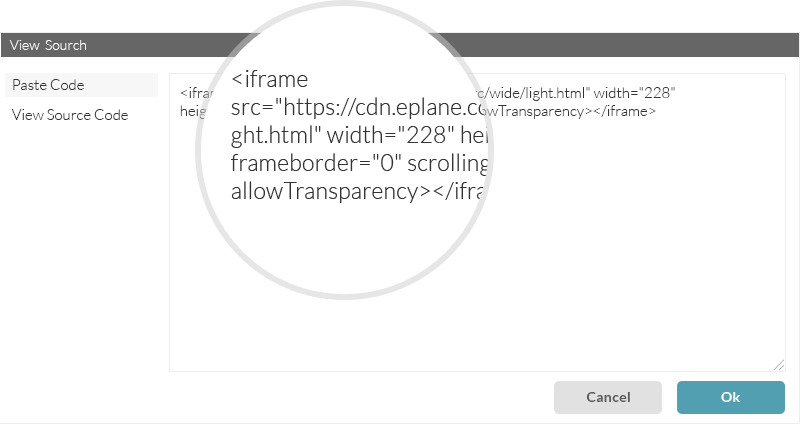
And that’s it! Your online visitors can now view your inventory with just 1 click.
Try it now for yourself.
![]()
Tip #3 – Brand Your Company Profile
In the online retail world, appearance is EVERYTHING.
ePlane allows you to enhance your profile by branding it with your company logo and bio. This way, existing customers will immediately recognize you and potential customers will get the chance to learn more about your services.
- Visit the Company Details page.
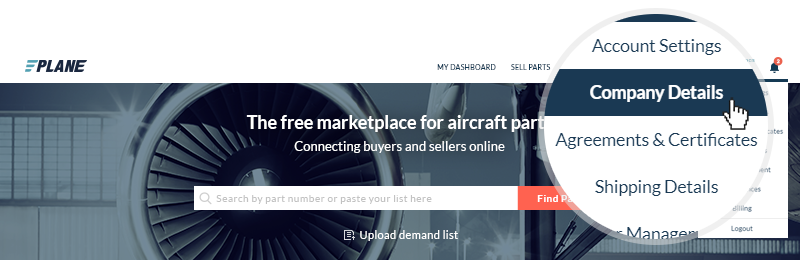
Let aircraft parts buyers find your inventory faster by adding a logo and bio to your ePlane company account
- Click the edit icon at the top and upload your company logo.
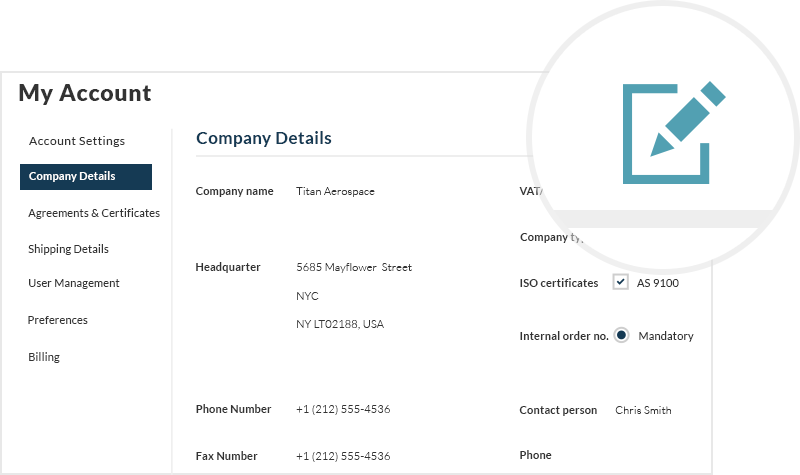
- Fill in your company details: Address, phone numbers, website URL, and a short description.
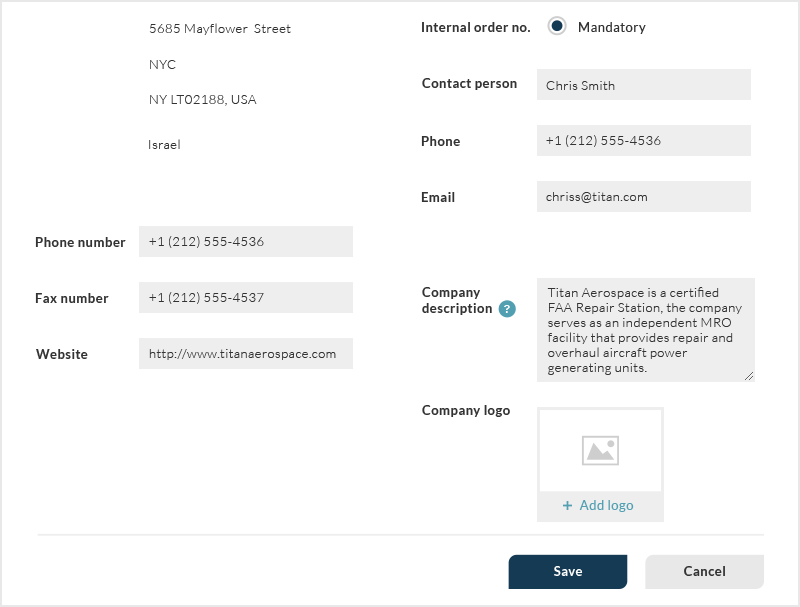
- Click the Add logo box, upload an image of your company’s logo (JPG, PNG, GIF) and click Save.

And that’s it! Now every time a potential buyer clicks your link, they will get a detailed view of your business.
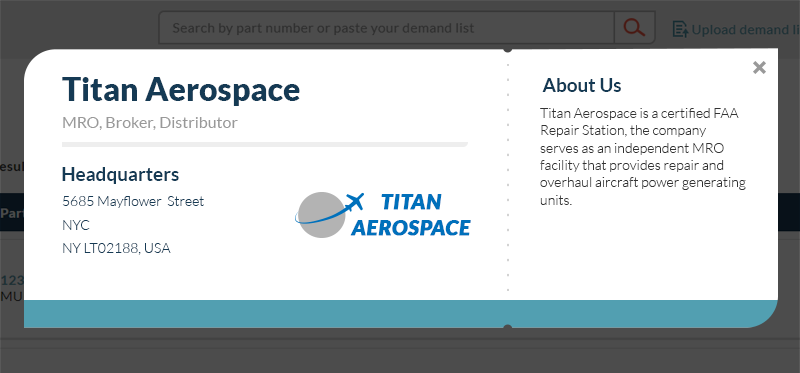
Try it now for yourself! Brand your profile and make sure customers get a comprehensive view of your services.
![]()
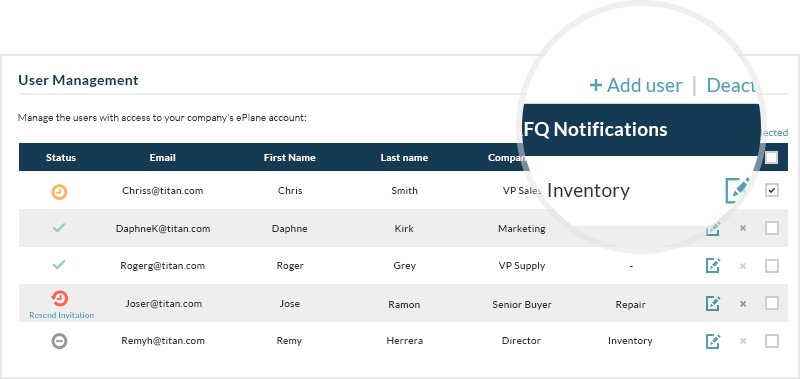
Tip #4 – Add Colleagues to Your ePlane Account
ePlane allows you to add your entire team to your company account. This way you can manage, interact, and collaborate with as many as colleagues as you wish on our user-friendly platform.
- Visit the User Management Page.
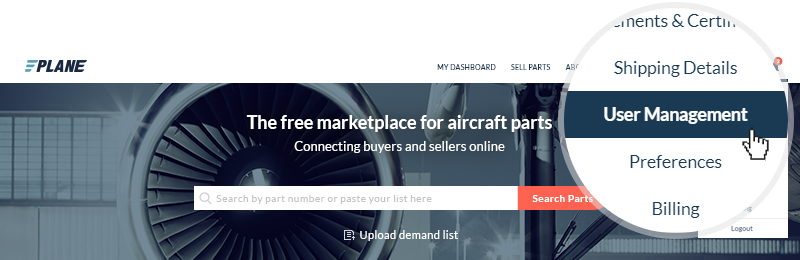
- Click Add user at the top.
- Fill in your colleague’s details.

- Select which RFQ notification this user will receive. Once you predetermine that, the company user will receive RFQ emails only for the services they are responsible for (Inventory, Repair or both).
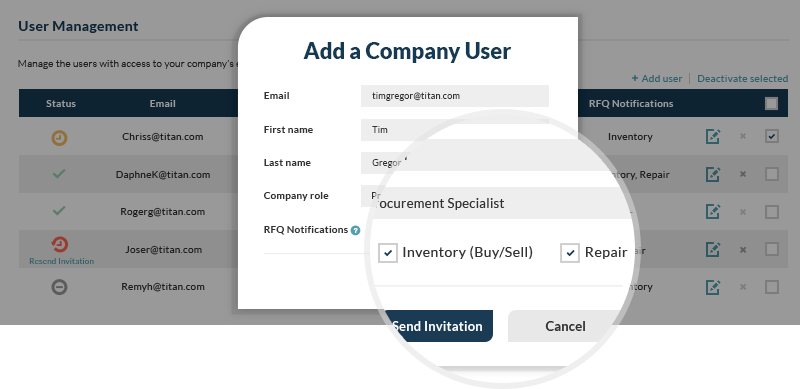
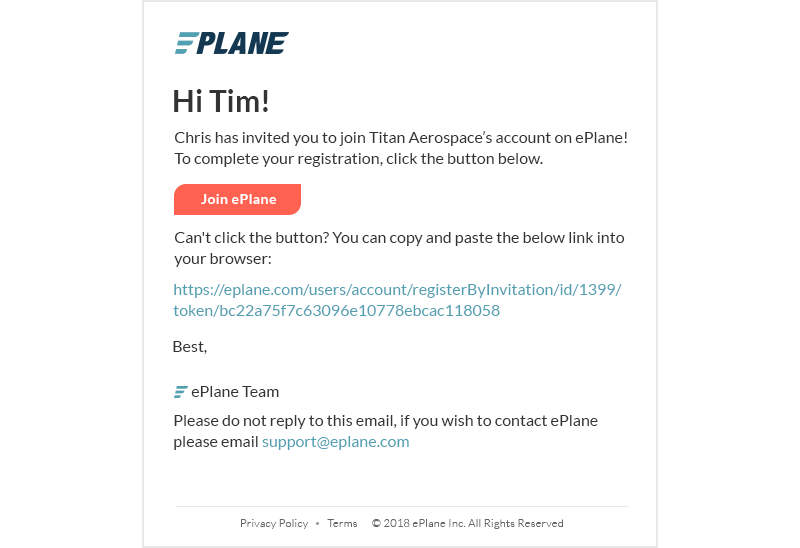
- Click Send Invitation. Your colleague will receive an invitation email. Once they join ePlane, you will see their details in the User Management table.
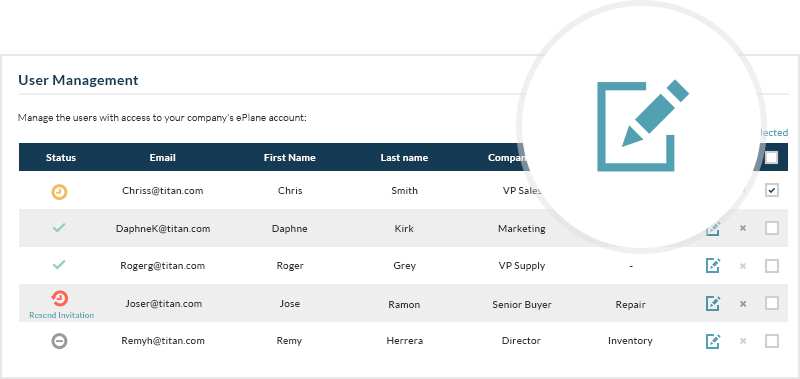
- You can edit your colleagues’ users at any time by clicking the edit icon.
And that’s it! You can now collaborate with your colleagues on our user-friendly platform.
Try it now!
![]()
Tip #5 – How to Acknowledge POs
ePlane’s advanced integration abilities allow sellers to receive and acknowledge POs directly through their ERP system.
Let’s see how it works on the ePlane platform:
1. Upon receiving a PO from a potential buyer, you can choose 1 of 3 options:
- Acknowledge PO
- Edit PO
- Reject PO
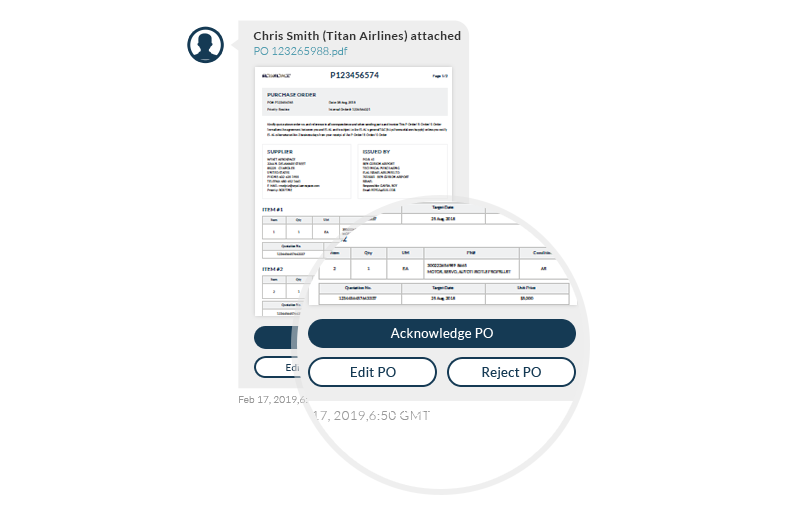
2. If you wish to approve the PO and supply the buyer with the items or services he is looking to procure, click Acknowledge PO.

The acknowledgment will be sent directly to the buyer via XML message, and this notification will appear in your chat:
 3. If you cannot meet the buyer’s needs, simply click Reject PO.
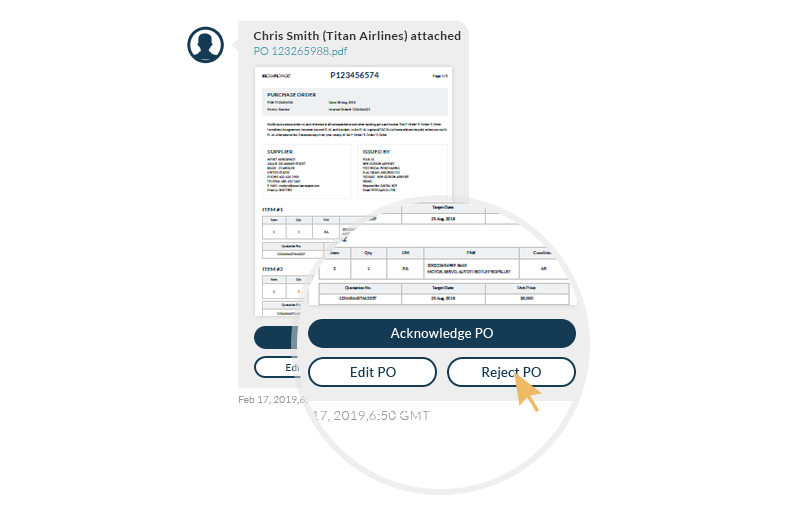
The buyer will receive a rejection notice via XML message, and this notification will appear in your chat:

4. To edit the details of the PO, click Edit PO.
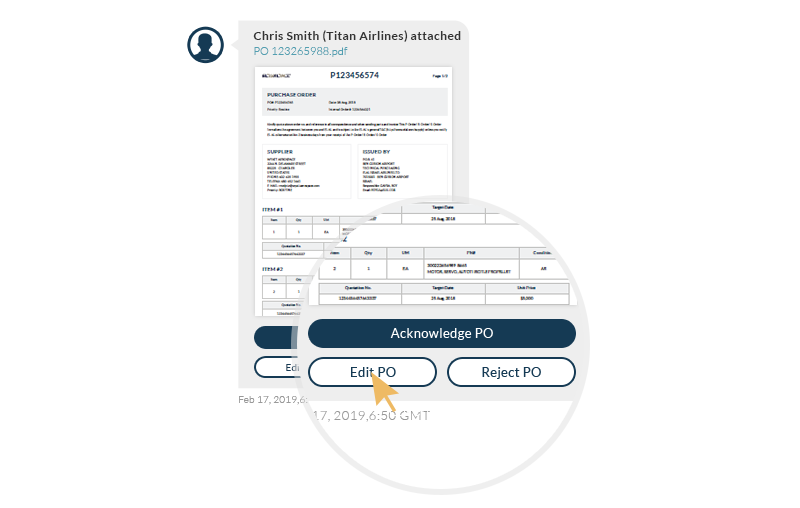
A form with the PO details will appear:

5. You can edit the PN number, quantity unit of measure (UM) target date, and price. You can add any other relevant information or instructions to the buyer in the Remarks field.
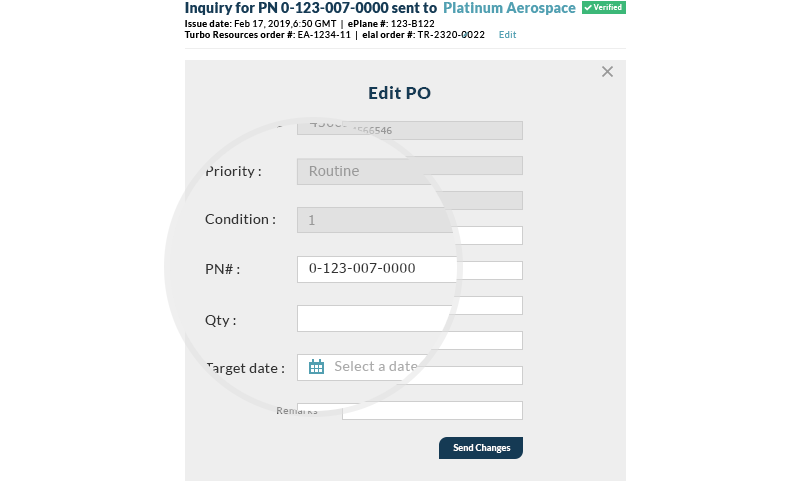
The buyer will receive your edited PO via XML message, and this notification will appear in your chat:

6. To update the shipping details, click the Update Shipping Details tab at the bottom of the chat window.

A form with the PN’s shipping details will appear:
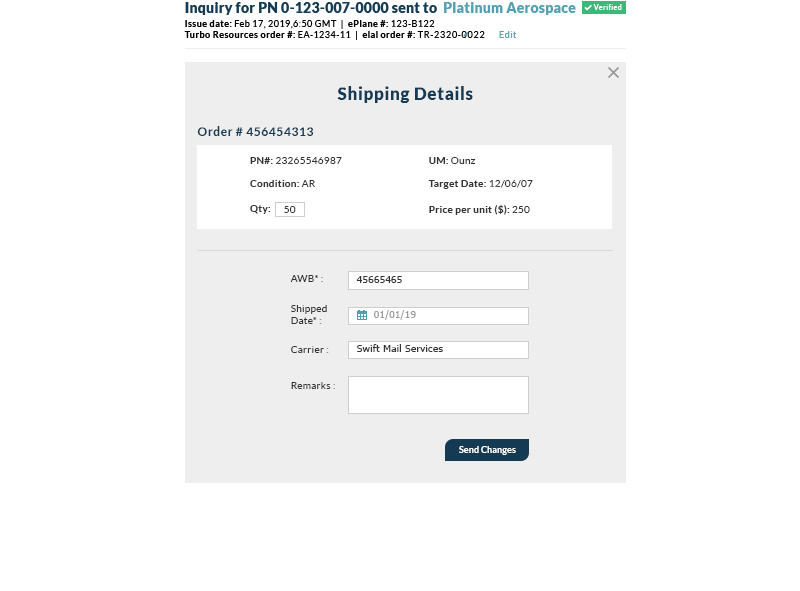
7. Click the fields you wish to edit, fill in the updated details, and click Save Changes.
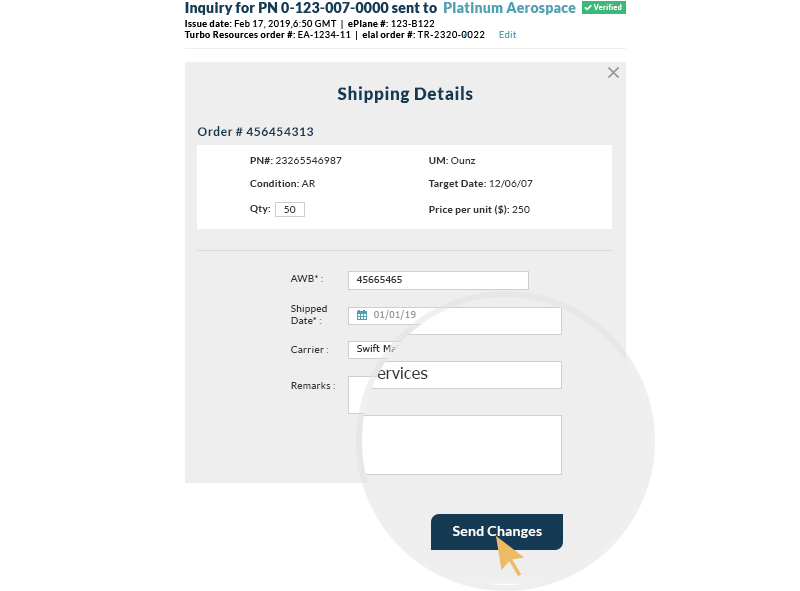
The buyer will receive your edited shipping details via XML message, and this notification will appear in your chat:

And that’s it! It’s that easy.
You can now acknowledge, edit & reject POs, and update shipping details with a few clicks.
Try it now!
![]()
We would love to get your feedback. Comment below or email us and tell us what you think.
Don’t have an account yet? Join ePlane now.
recommended to you